Saturday, December 29, 2012

It's perfect!

I tried the idea for the supports that I wrote yesterday, the result was very good.
The bridge, also works effectively.


Friday, December 28, 2012

2mm support test

This is a test for 2mm support. Some supports were missing, but I think it's not so bad result. Making the supports at the outer edge of the basement is difficult. I have to make them could re-generate when it's missing at first step.


Thursday, December 27, 2012

Refocus succeeded

I checked a projector focusing on the vat again, the result of printing would be very good. Only one place, a support wasn't generated. So there part was incomplete, but almost good shape in terms of accuracy.

I think a cause of the failure, there is a subtle difference in the angle between the surface of PDMS(bottom of vat) and build plate. The thickness of the basement on this side is thinner than the other side. The basement on this was peeled off at the first process, so the support parts weren't generate. I have to recheck the degree of adhesion between the PDMS and plate.


Wednesday, December 26, 2012

Setting the projector focus again.

After the last post of this blog, I tried several tests again. But I couldn't get surely good results. The details under 2mm were not shaped. A model like this is no problem to shape. So, I checked the projector focus again, and print test once more.


Saturday, December 22, 2012

99% OK

It's finished the printing of 'BUG' in this morning.


The result was almost good! Only one finger was lacked. And there are much of blobs in the resin made by last test. So, I filtered the resin in vat for next print.


Friday, December 21, 2012

Good result!

After failing several times, I finally got the best position of the build plate.

I Attached 4 layers on basement, printed the models for testing the support shapes. The result was very good. all the shapes were printed perfectly.


So now, I'm trying the 'BUG' model again. That model has over 900 layers on 50µm/layer mode, I have to wait about 17 hours to end.

Monday, December 17, 2012

Test again! but print aborted...

I made more fat model, and printed. But, the printing was aborted on final 3mm. Why...?
And I still have a problem about the 'Support' parts. Some legs were gone, and some wings get strange shape.
I have to test first that what shape of supports are good for print without peeled off from the stage.


Sunday, December 16, 2012

Print test, again.

The vat and coating is well, so I tried a print test again. The model was made with blender, it took about 14 hours to finish. The result was,,,.

The wings are good. Horns are too thin, and some of legs are lacking.  I didn't get the sense of 'Support' to legs. I think the next will be better.


Burning in the UV light, 2 hours.


[Updated] After burning in the UV light, check the model again.


The horns were too thin.


The front and middle legs were lacking, cause of bad connecting with each supports. This is the shape I'd like to get.


Saturday, December 15, 2012

Repairing a silicon coating in the vat - #2

After 48+ hours, Sylgard was cured. The surface is very flat.


Setting into the printer.


Setting the initial place of the build stage.


Test printing.


The result is not perfect but 90% succeeded, I think.


It's new special tool. This is a machine for nail drying.


The UV light to finish the curing. I left 2 hours.


The chairs and a table. It's not bad result for the test. (^_^)


Friday, December 14, 2012

Repairing a silicon coating in the vat - #1

After some printing test, a silicon coating in the vat was peeled off! This coating is very important for this printer. I have to repair it. I bought 'Sylgard 184 kit' on Amazon.com. (photo: Sylgard 184 kit, vat, peeled coating)


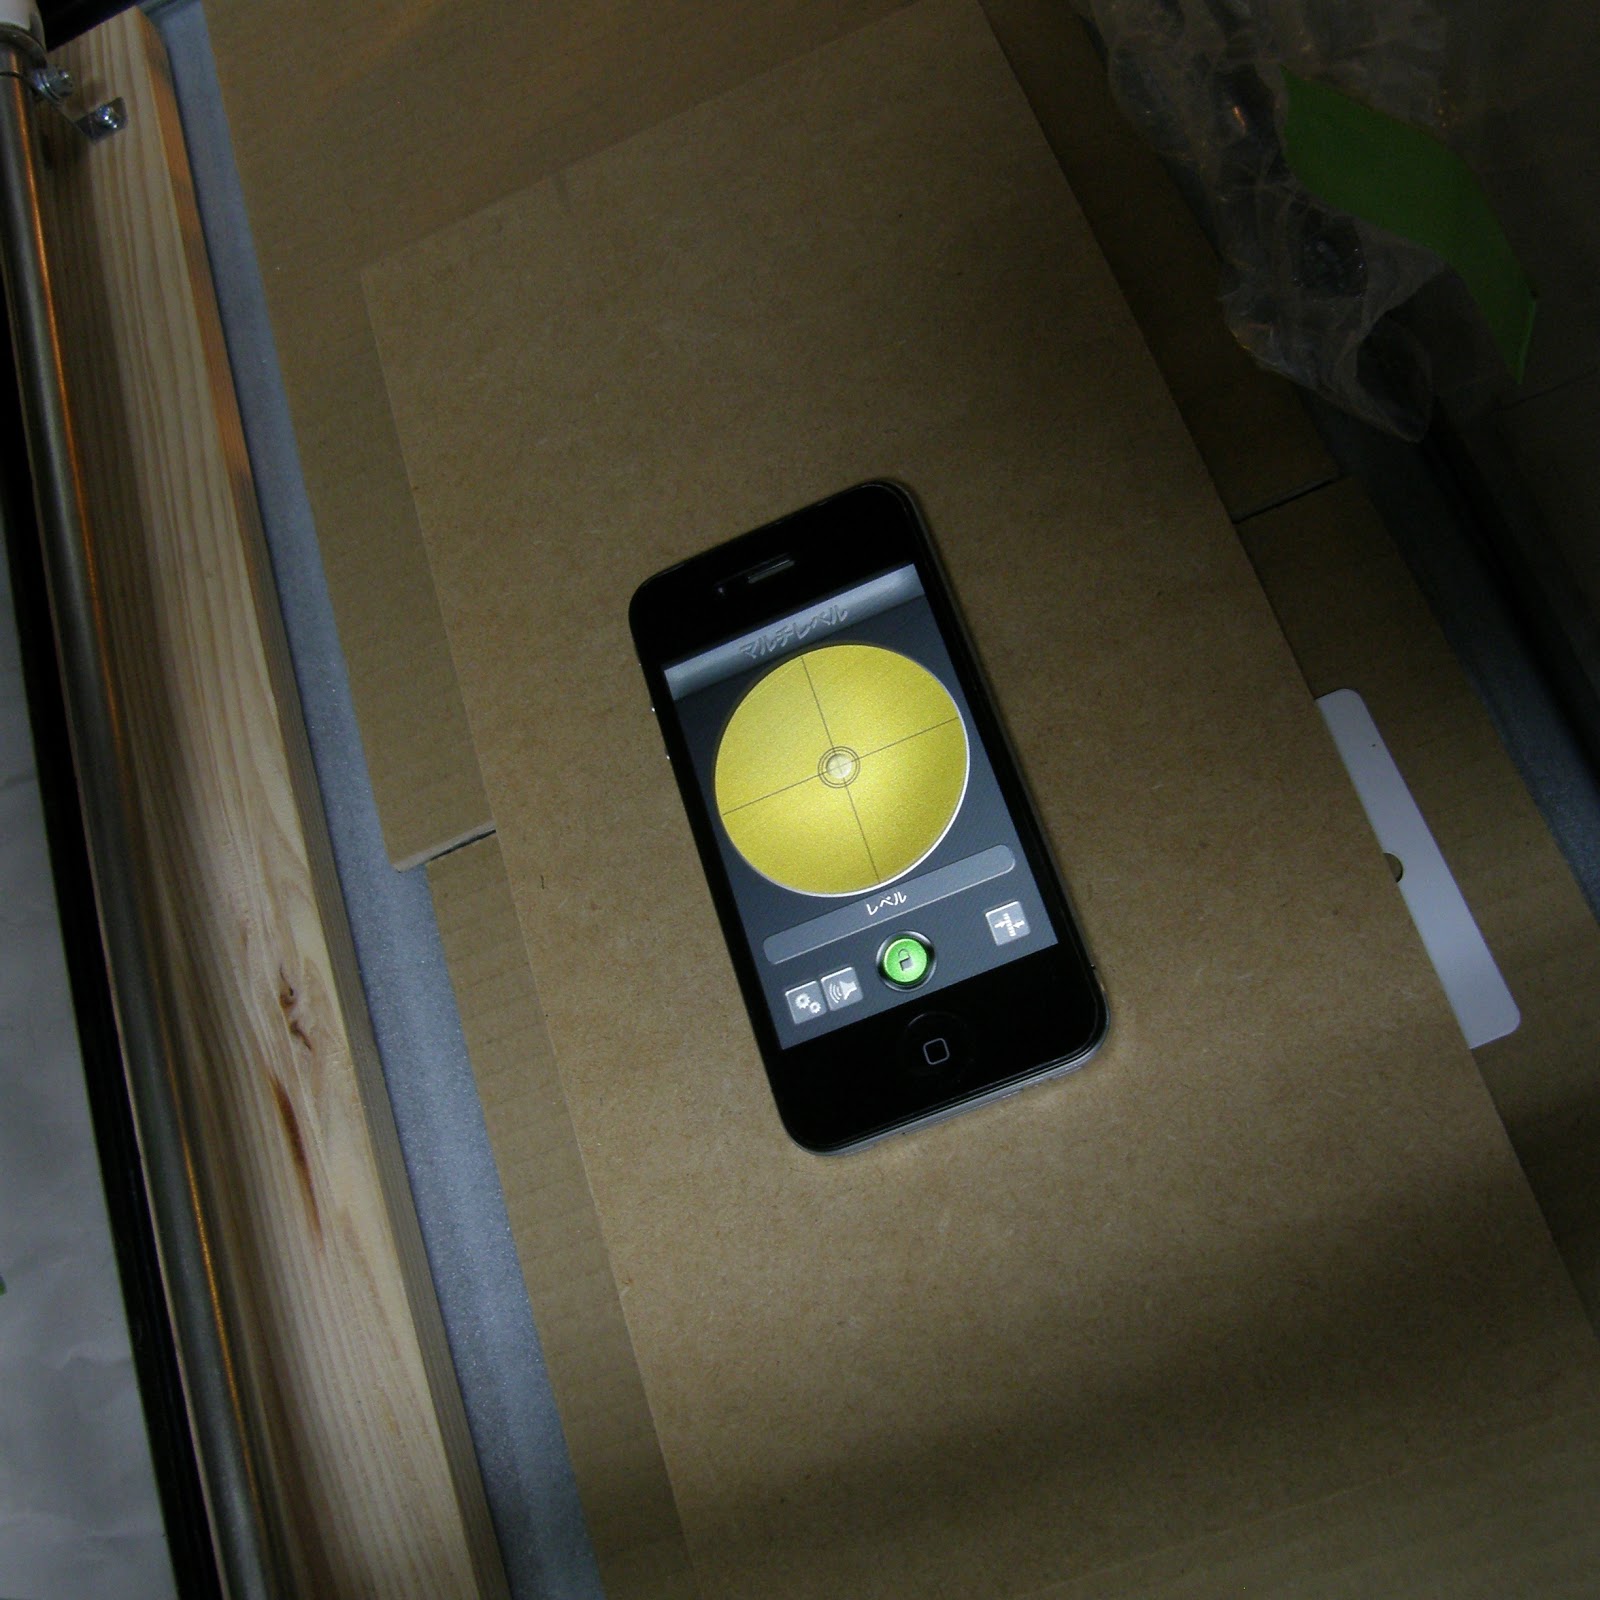
I used a large old 'glass aquarium', and set the level. (photo: level app on iPhone4, a heater for acrylic processing on left side)


I was exactly weighed Sylgard. Curing agent as well.


This is a special tool! It's a cooked rice stocker with hand vacuum pump.


Set the cup of Sylgard, and decompress with the pump. The bubbles in the liquid were come out.


I leave it alone for about 30 minutes. The bubbles were gone.


Poured into the vat, and put on wrap to prevent dust from entering.


Put the vat in the aquarium, and switch on the heater. This heater is low power, so only up to 33 ° C did not increase the temperature of the air. I have to wait 48hours.


Friday, November 30, 2012

Failed!

Oh...print was failed. Such as the ankle was too thin. Printing was aborted. Broken body is my mistake. I have to do it again!


Thursday, November 29, 2012

3D print test

I got a 3D printer 'B9Creator'.
I assembled hardware, and got Beta version of software. And printing test now.
After a few fails, I succeeded to make a 'Chair'. It's 2.5cm height.

I'll try my GMP objects next time. (^_^)


Friday, November 23, 2012

Better, better.

I found better numeric formula for body shape.
It generate better body shape. How about this?


Tuesday, November 20, 2012

Multi generation test!

I know, I have to think for making better shape of them.
But now, I tried multi generation. I set the only one parameter for variation now. Of course I'll use some parameters for it.


Saturday, November 17, 2012

New Wing Shape

I tried to make new wing shape.
It's not solid, but light weight. I think it's a better method.


Well, I need to try how to make a body shape. I mean I have to think numeric formula and parameters. (^_^;)

Sunday, November 11, 2012

Parameterized

It's been a long time no see...

Well, I rewrote the code to make slider control. I need more thinking time about the numeric formula for shape... 


Saturday, September 22, 2012

The exhibition was over.

The exhibition of GMP, 'Subspecies' was finished on September 19th.
Next? I don't know... (^_^)